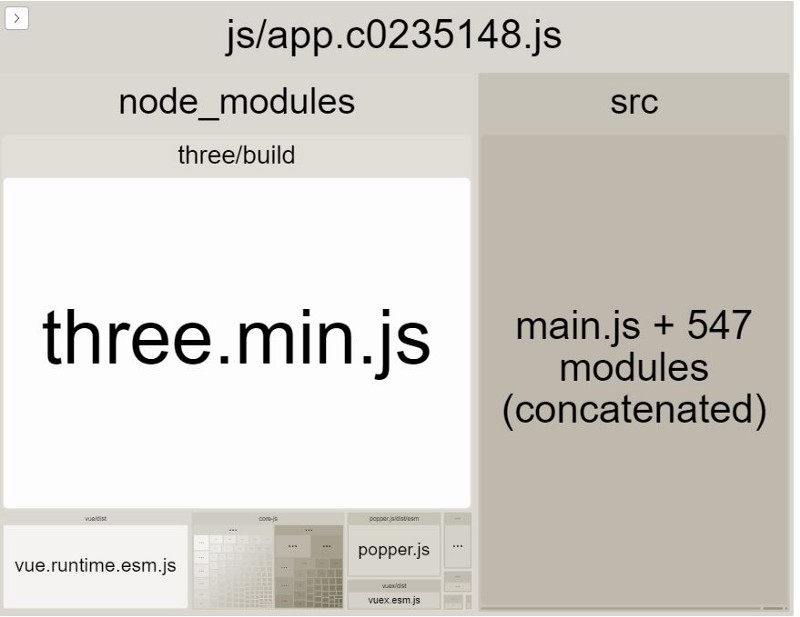
Knowing exactly what and how much each individual bundle in your project is used can help you optimize your project. If your web application is packaged with Webpack, there are a few ways you can analyze your bundles.
Analyzing Bundles
There is a handful of third-party packages that will allow you to get a more detailed view of exactly what modules in your application are being used and how significant they are to your project in terms of size. “webpack-bundle-analyzer” is one that I use frequently. This plugin renders and opens a webpage with information about your bundles after you run a build. It also gives you three separate views: parsed, stat, and gzipped.

How to use
Open a terminal with the path to your application and execute the command npm install — save-dev webpack-bundle-analyzer.
Next, locate the webpack.config.js file within your project and add this to the plugins property.
const BundleAnalyzerPlugin = require('webpack-bundle-analyzer').BundleAnalyzerPlugin;

module.exports = {
   plugins: [
      new BundleAnalyzerPlugin()
   ]
}
After this is added, build your project and when it is finished you will see a rendered page load up in your browser.
If you are using Vue CLI with a Vue application, the Vue CLI already has a build configuration packaged with the webpack-bundle-analyzer. Just run vue-cli-service build –report and it will generate a report.html file within your /dist folder.
Report Detail
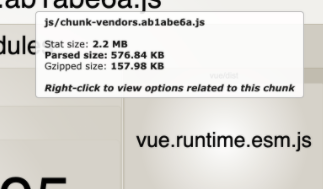
In the report, you should notice three levels of bundle sizes.
- Stat – Obtained from webpack’s stats object, the “input” size of your files, before any transformations like minification.
- Parsed – This is the “output” size of your files including minification and any other plugins that are augmenting the output files.
- Gzipped – The size of your bundles after running them through gzip compression.

Check out the official npm page for the “webpack-bundle-analyzer” to see all of the options and properties you could use to get more information about your bundles.
